
Sign in with your university e-mail
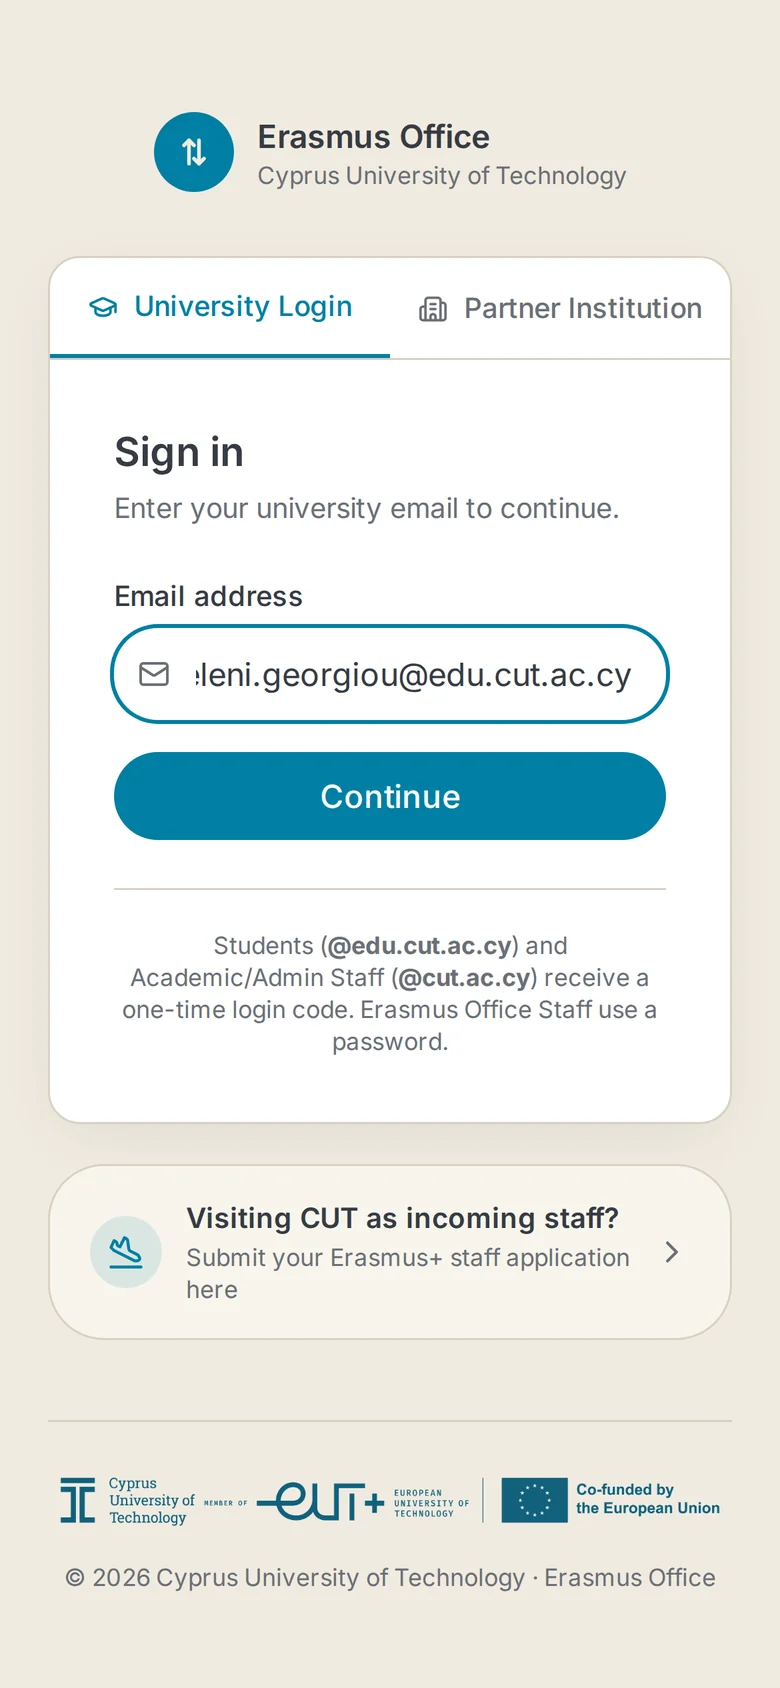
On your phone, open erasmus-cut.app/card. Type your @edu.cut.ac.cy address and tap Continue. There is no password and nothing to register: signing in with your university e-mail is what confirms you are a CUT student.
Enter the code from your e-mail
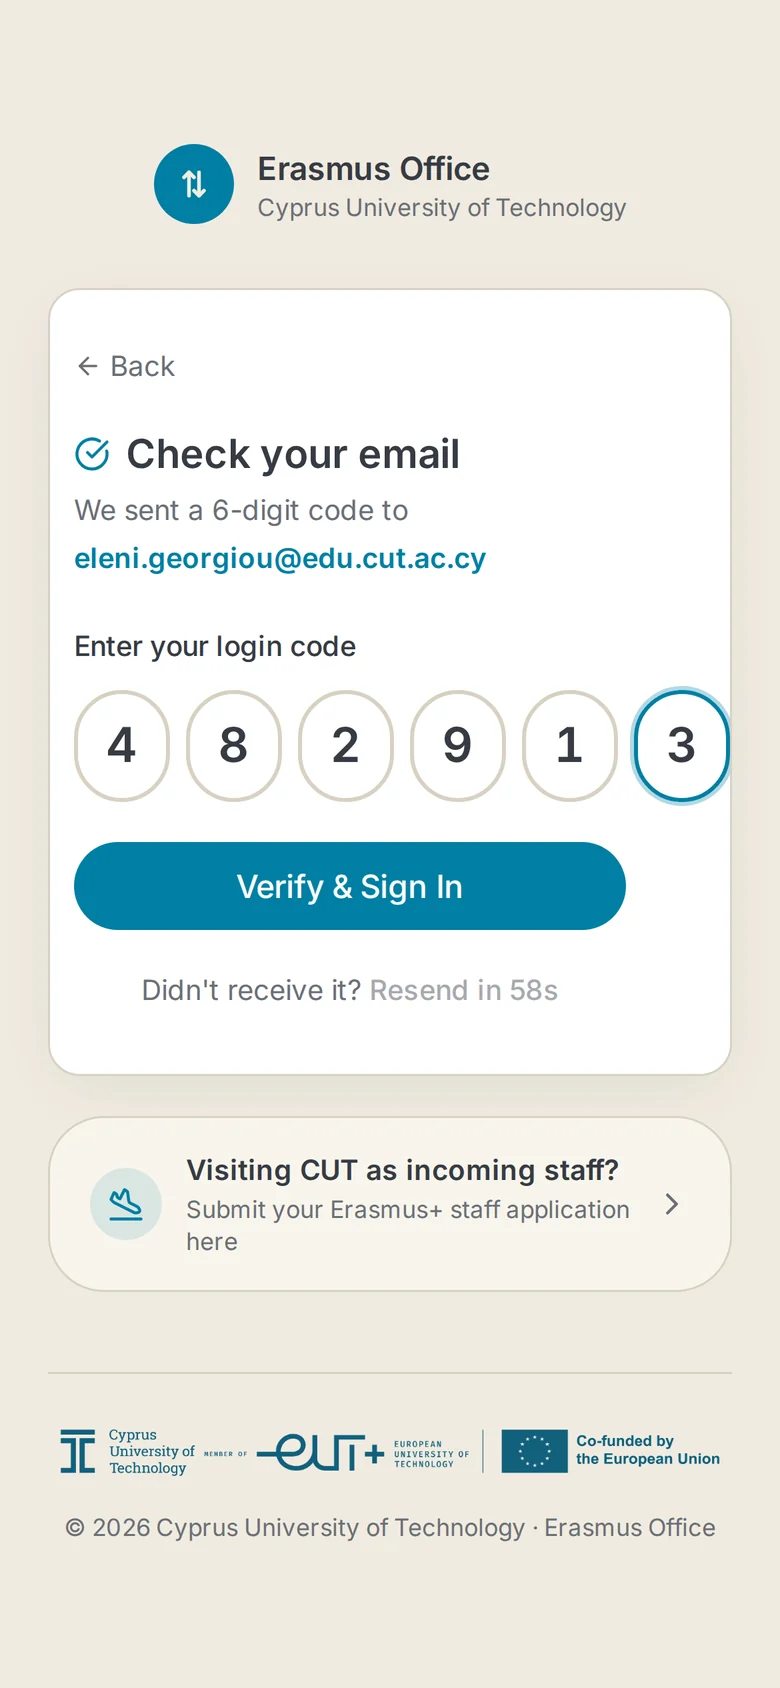
You receive a six-digit code at your university e-mail. Enter it and tap Verify & Sign In. If it has not arrived within a minute, look in Junk, or tap Resend.
First time? Complete your profile
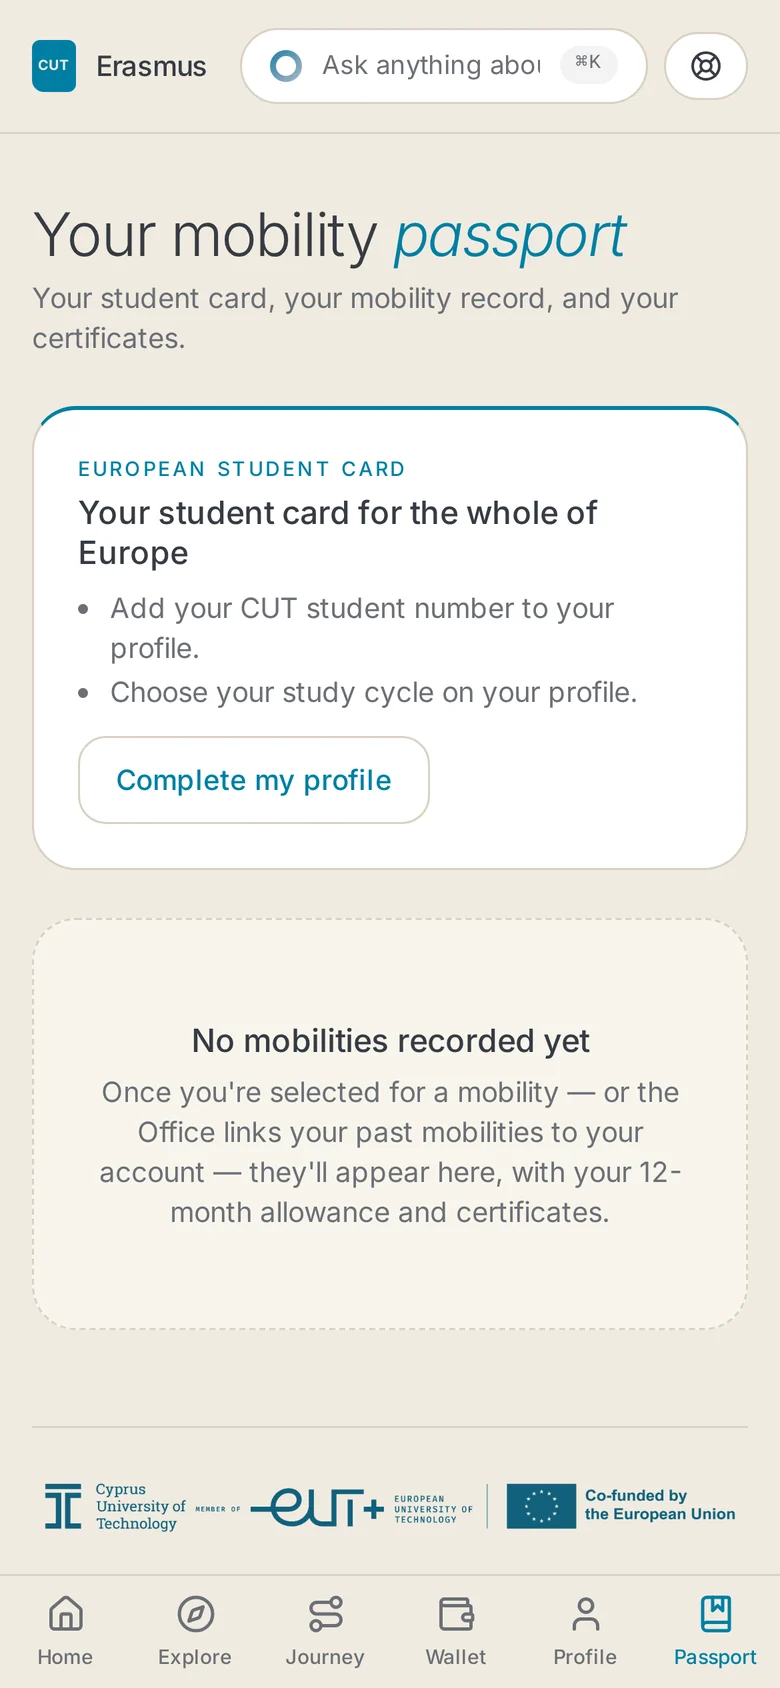
The link opens your Passport. If your profile is not complete yet, the card tells you what is missing. Tap Complete my profile. If you have used the platform before and your profile is complete, skip to step 05.
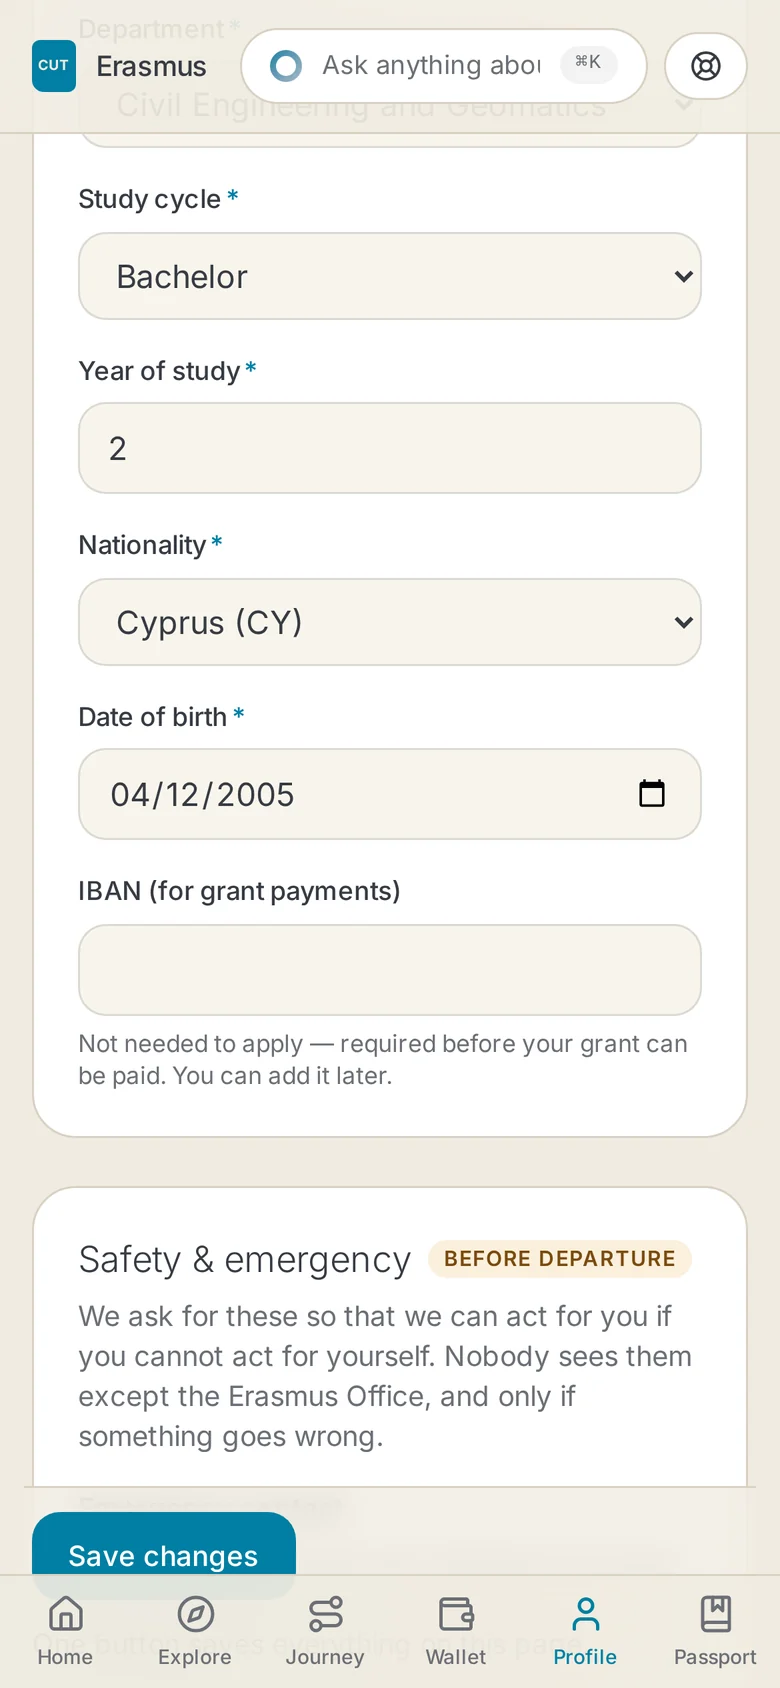
Fill in your details and save
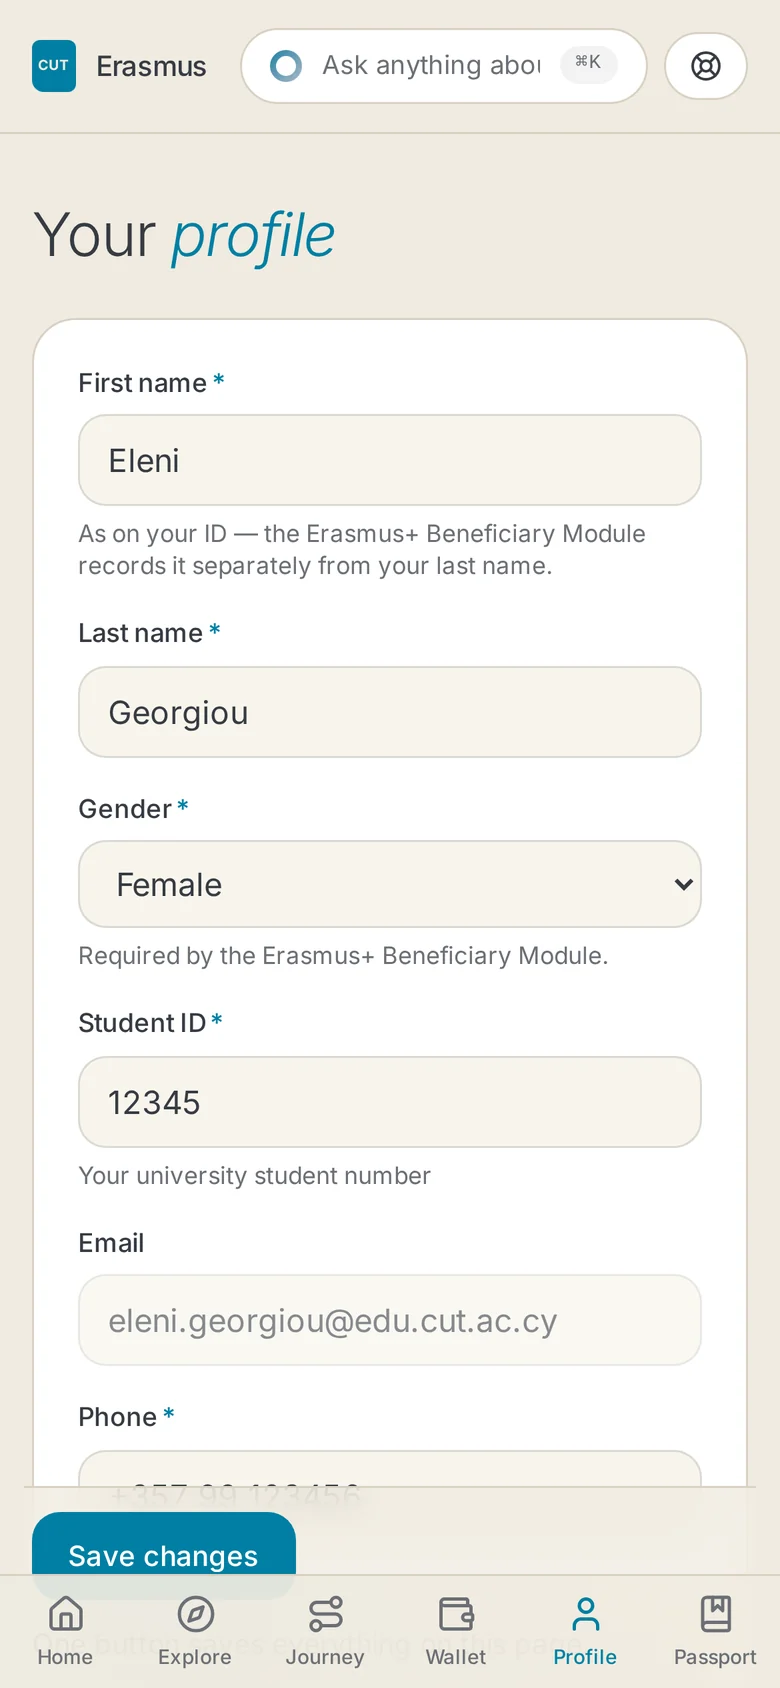
Fill in the details at the top of Profile: first and last name as on your ID, gender, student ID, phone, department, study cycle, year of study, nationality and date of birth. Then tap Save changes. The sections further down — IBAN, Safety & emergency and your documents — are for when you go on a mobility. The card does not need them.
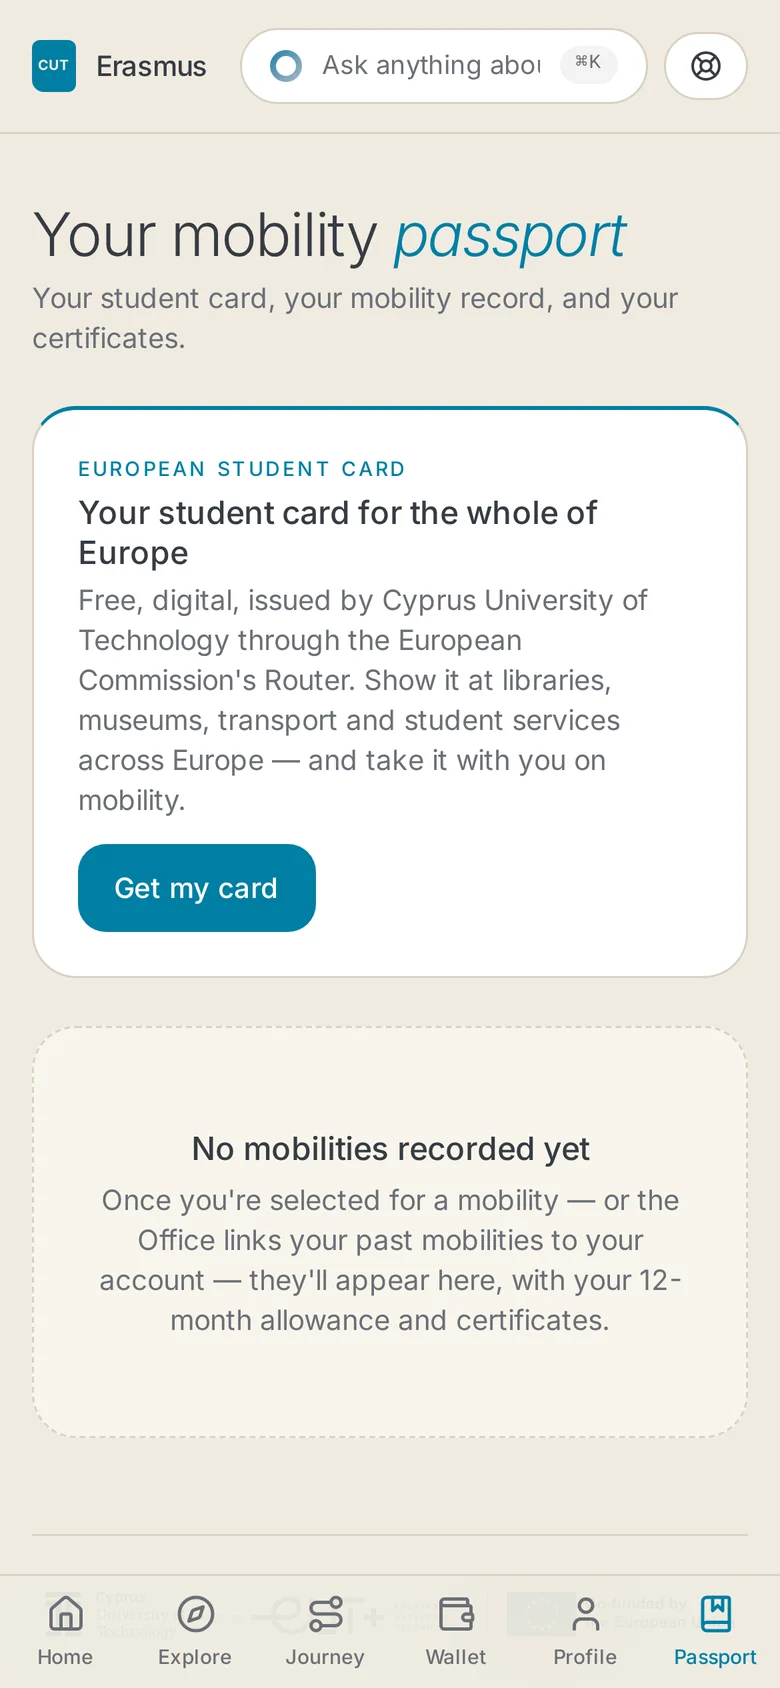
Open the Passport and tap Get my card
Tap Passport in the bar at the bottom of the screen. Your European Student Card is at the top. Tap Get my card.
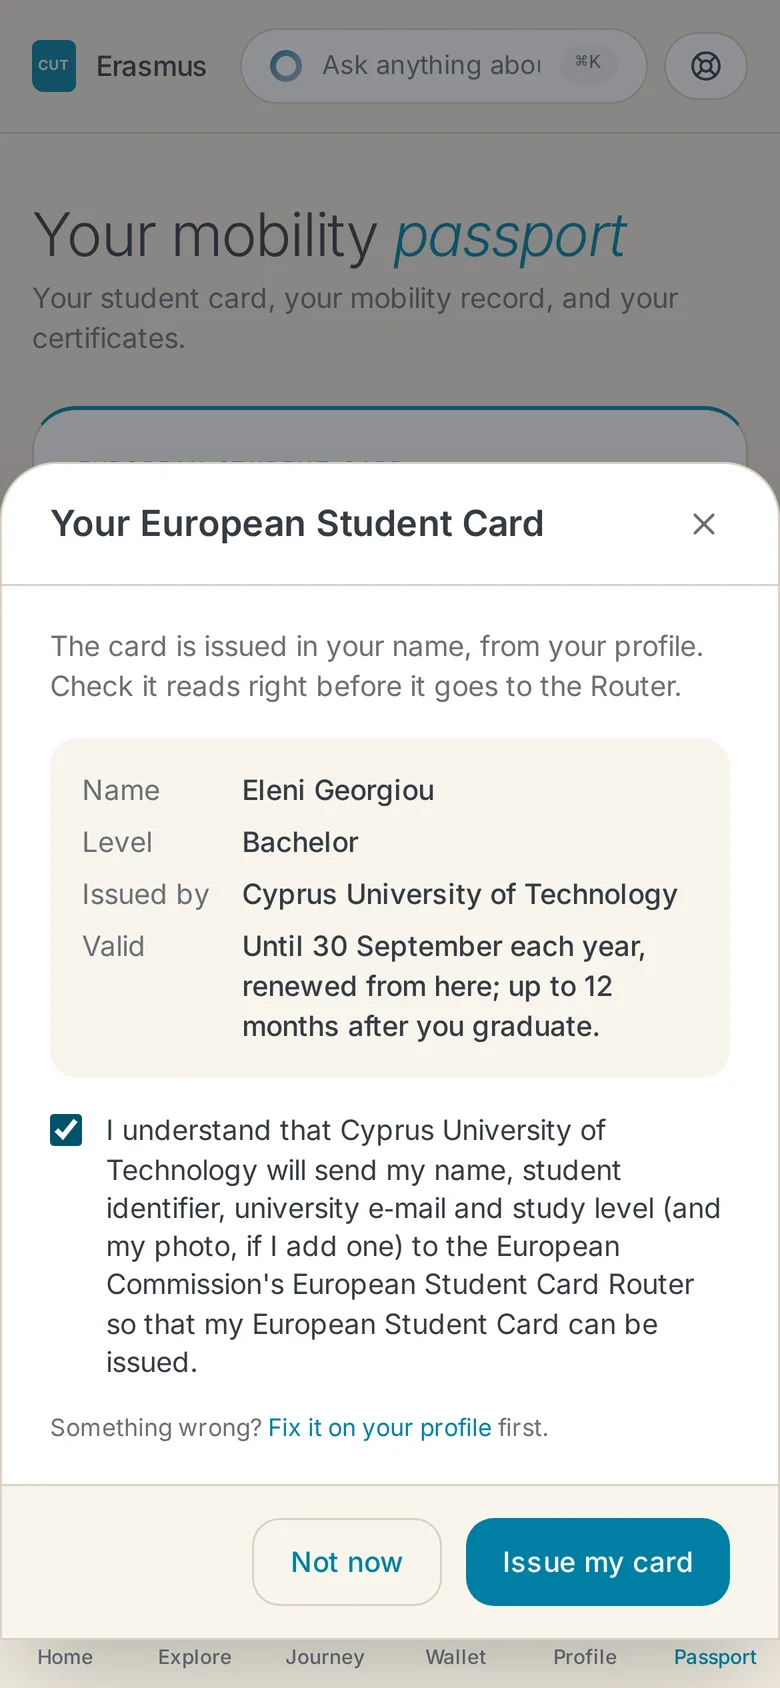
Check, tick and issue
Check that your name and level read right. Read the statement, tick it and tap Issue my card. The statement says exactly what is sent to the European Commission, and nothing else is.
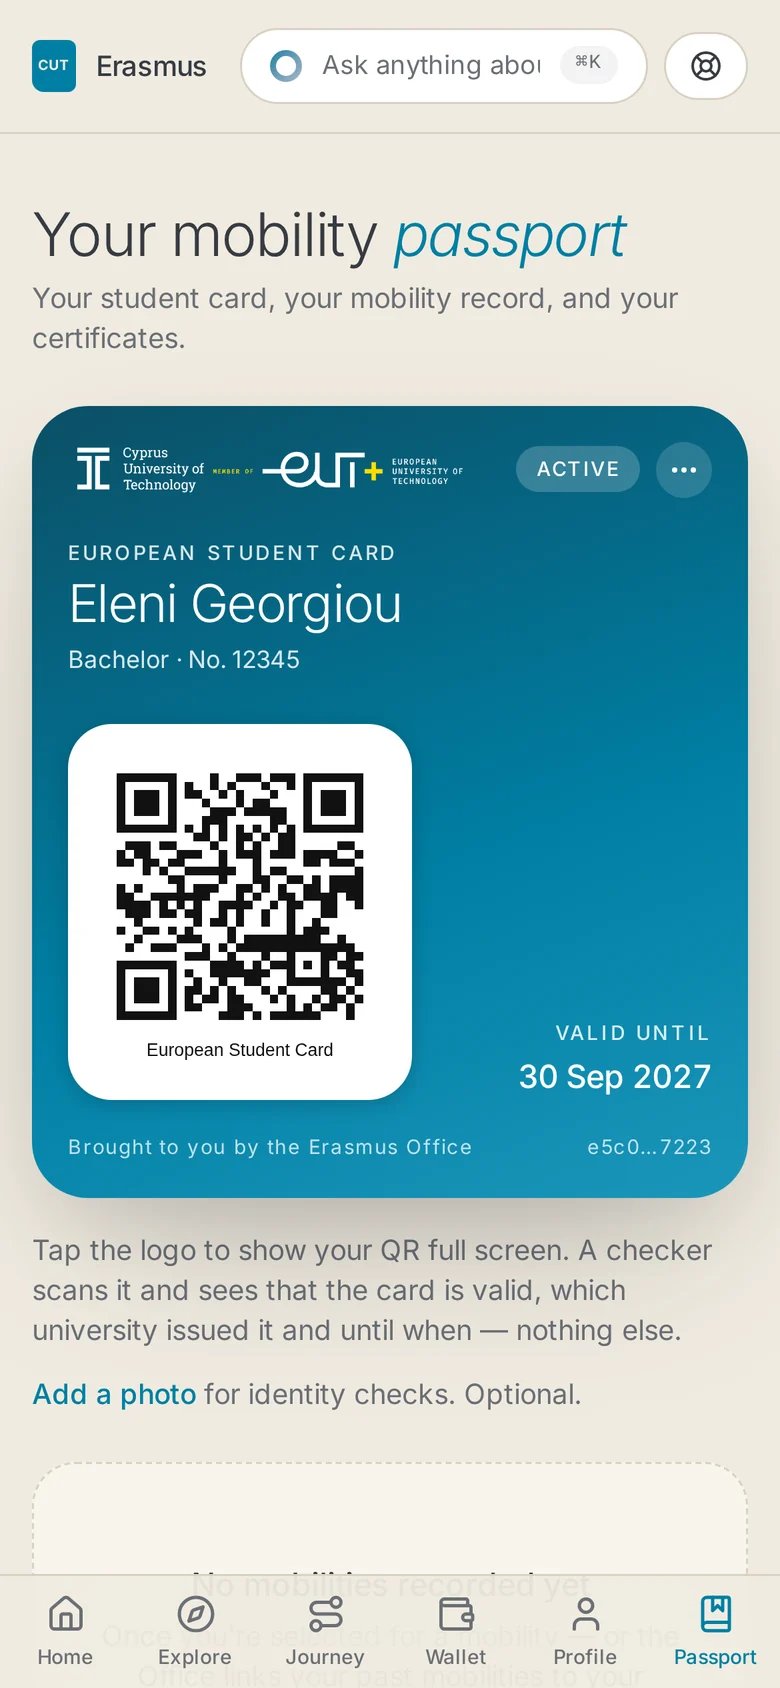
Your card is ready
The card appears on your Passport at once. Tap the QR to show it full screen when someone asks for your student card. You can add a photo now or later; it is optional.
Keep it on your phone — any phone
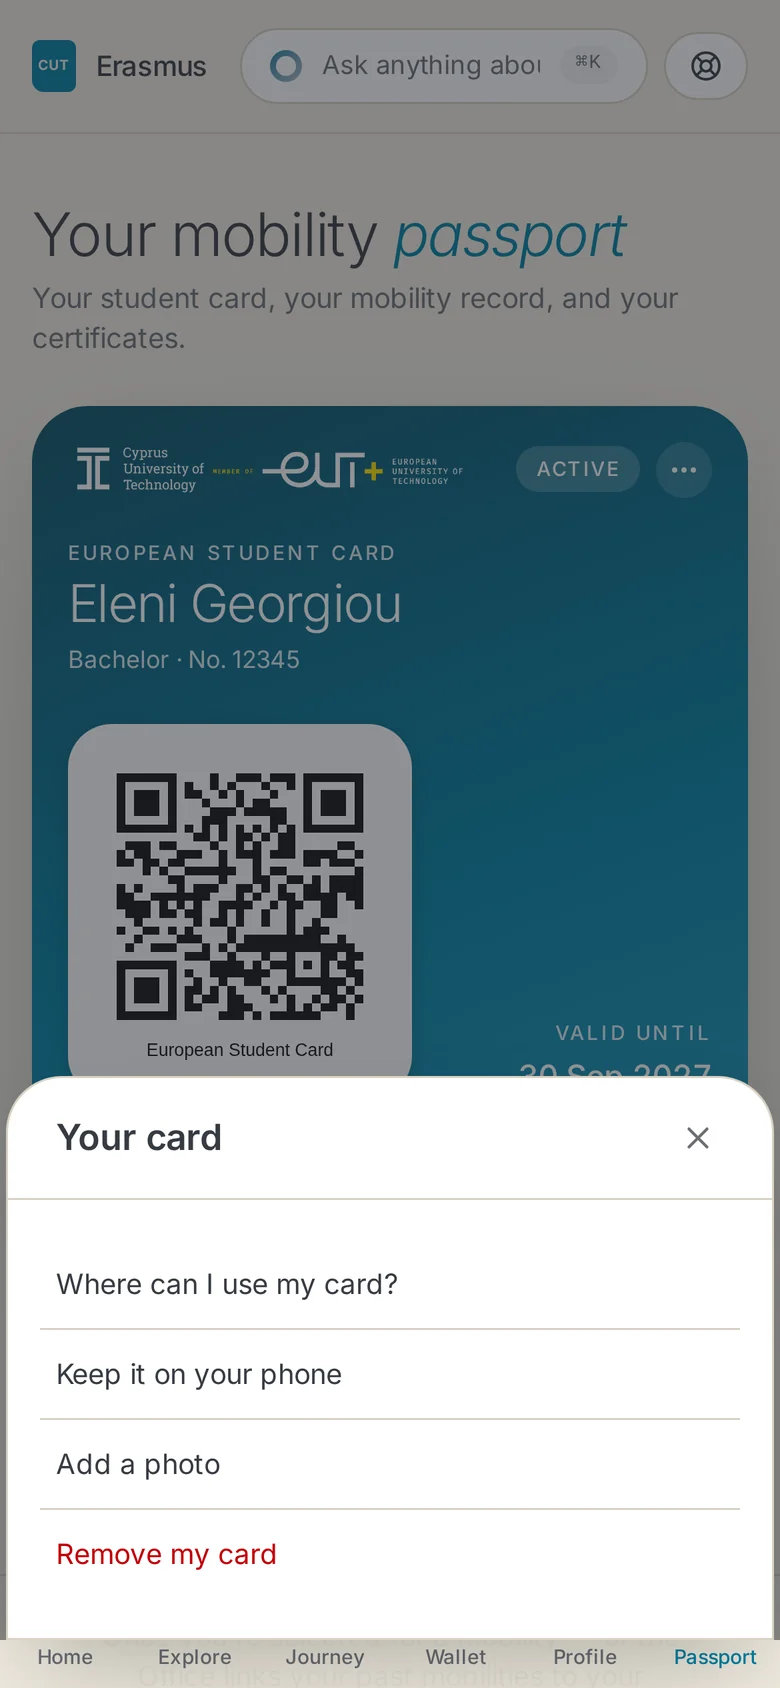
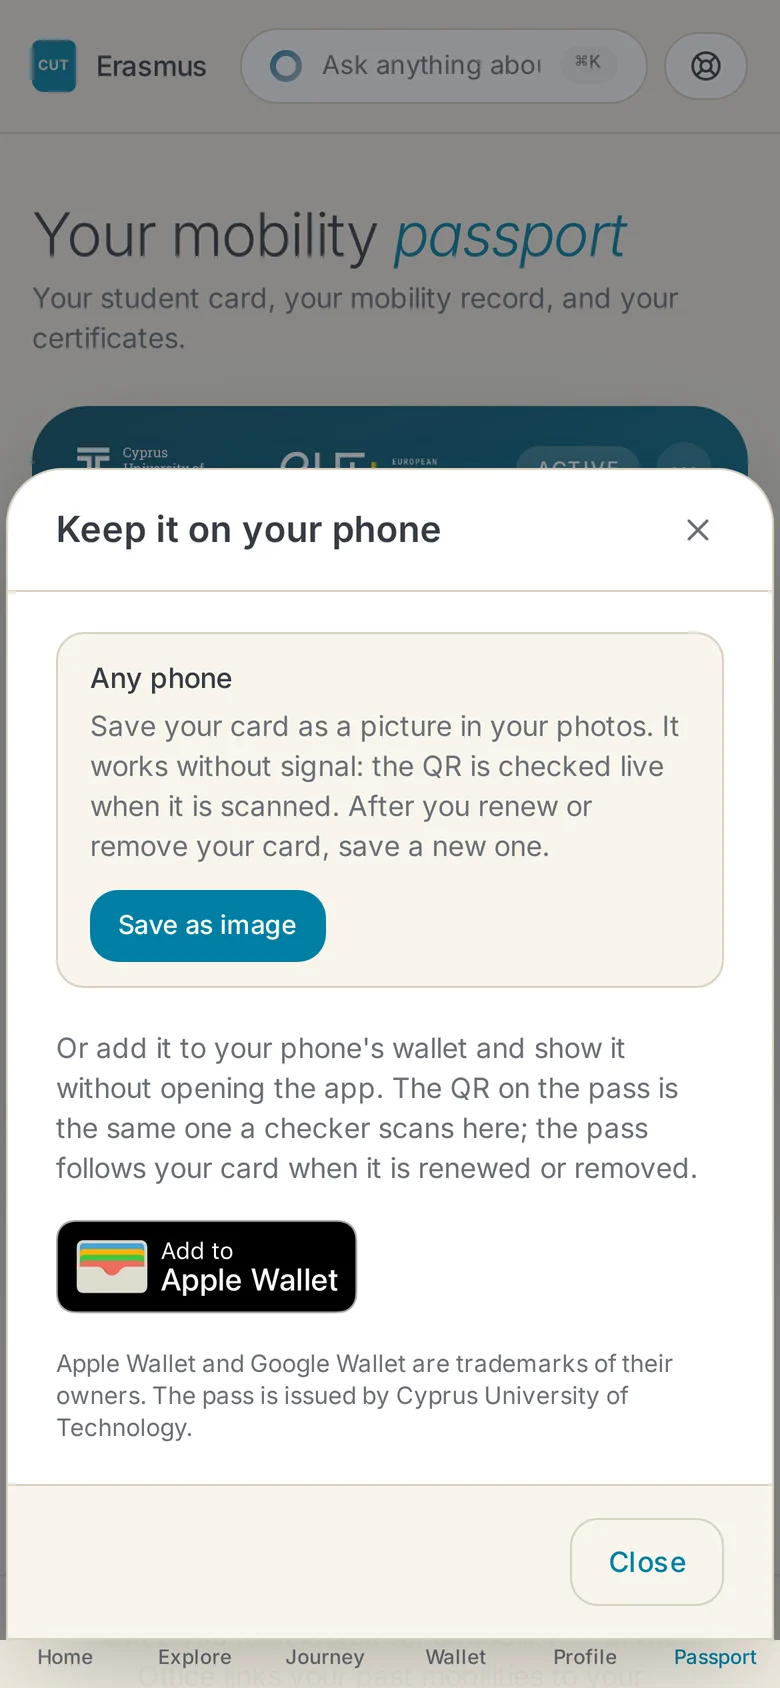
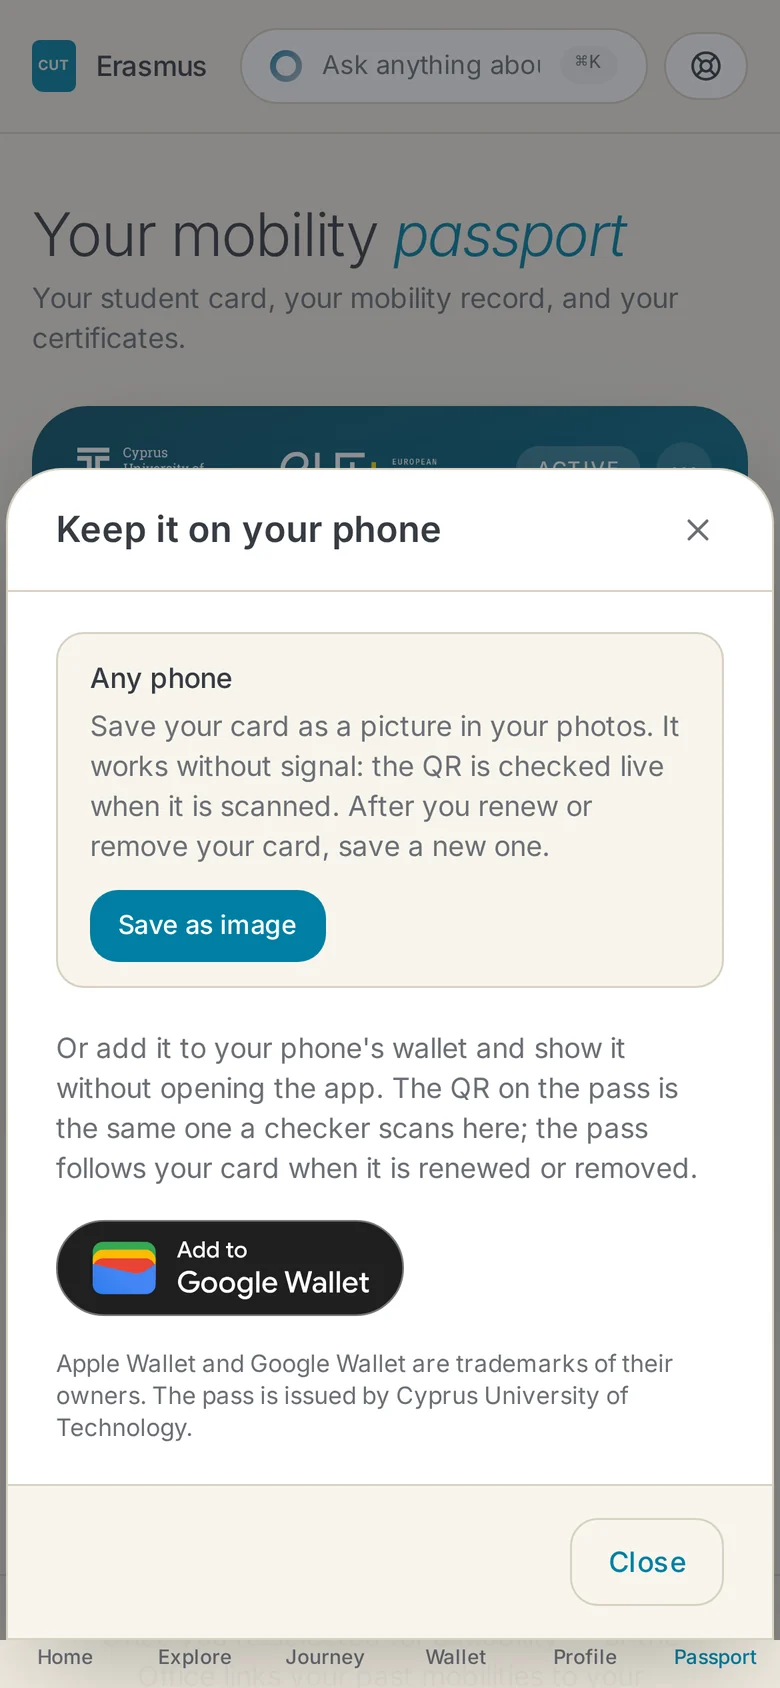
Tap ··· on the card, then Keep it on your phone. First option, for any phone: Save as image puts the card in your photos. No wallet and no app store are needed, and it works without signal. Or add it to Apple Wallet on an iPhone or Google Wallet on Android. Do this step on your phone itself.
Always with you
Your card is now on your phone: as a picture in your photos, or in your wallet next to your other cards and tickets. Show the QR; whoever checks it scans it and sees, live, that your card is valid, that CUT issued it and until when. After you renew your card in September, save a new picture. A wallet pass follows by itself.
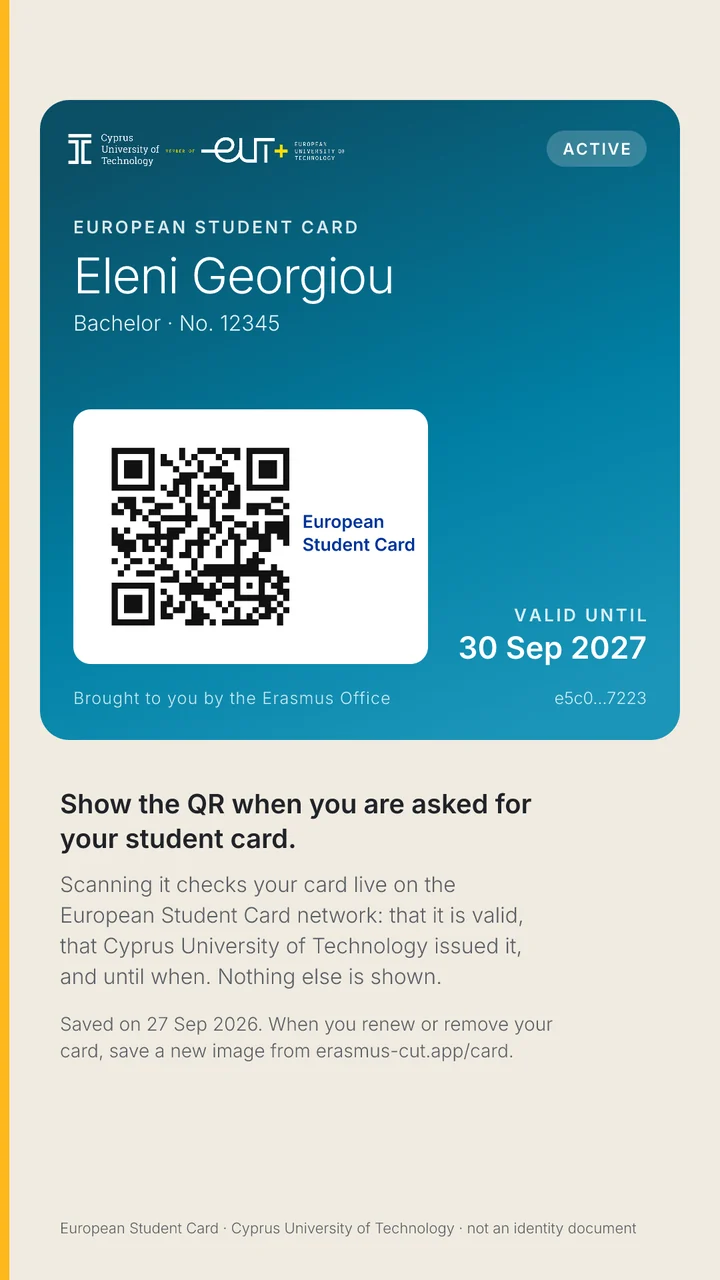
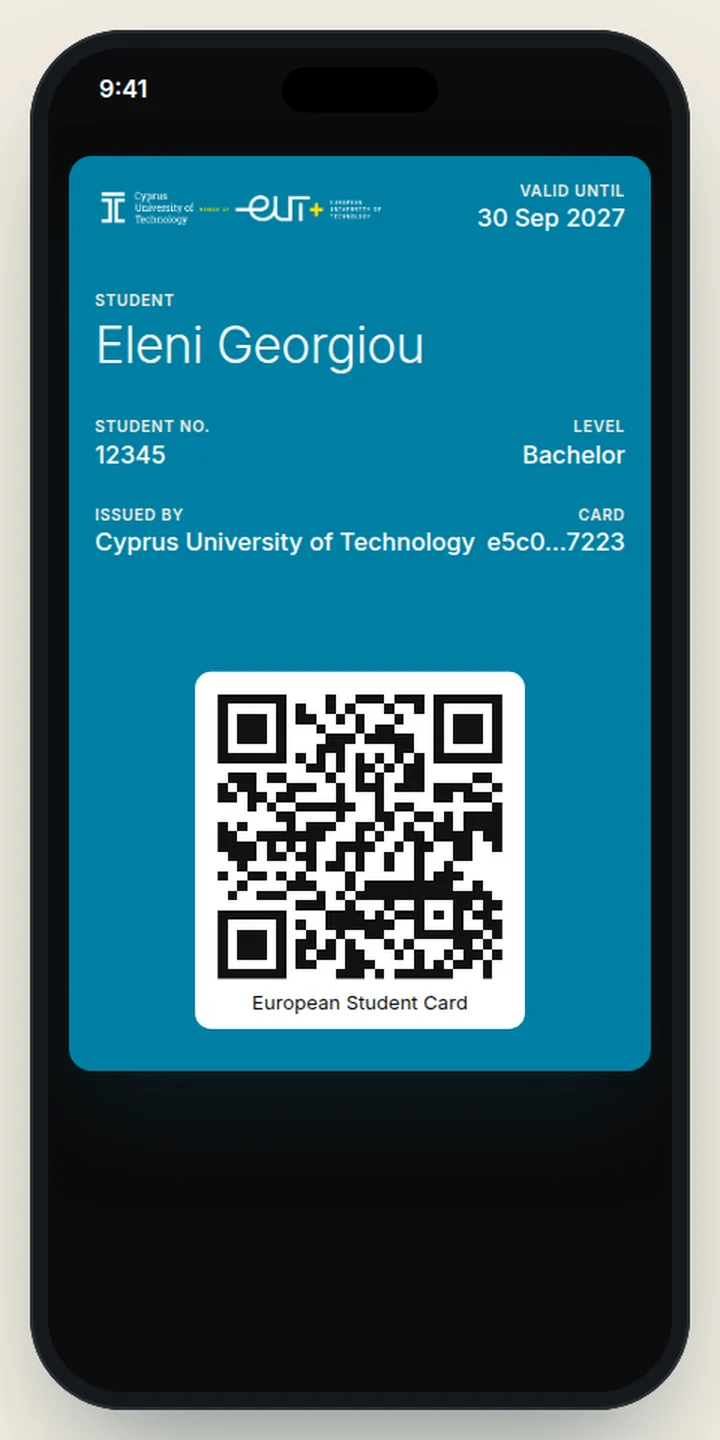
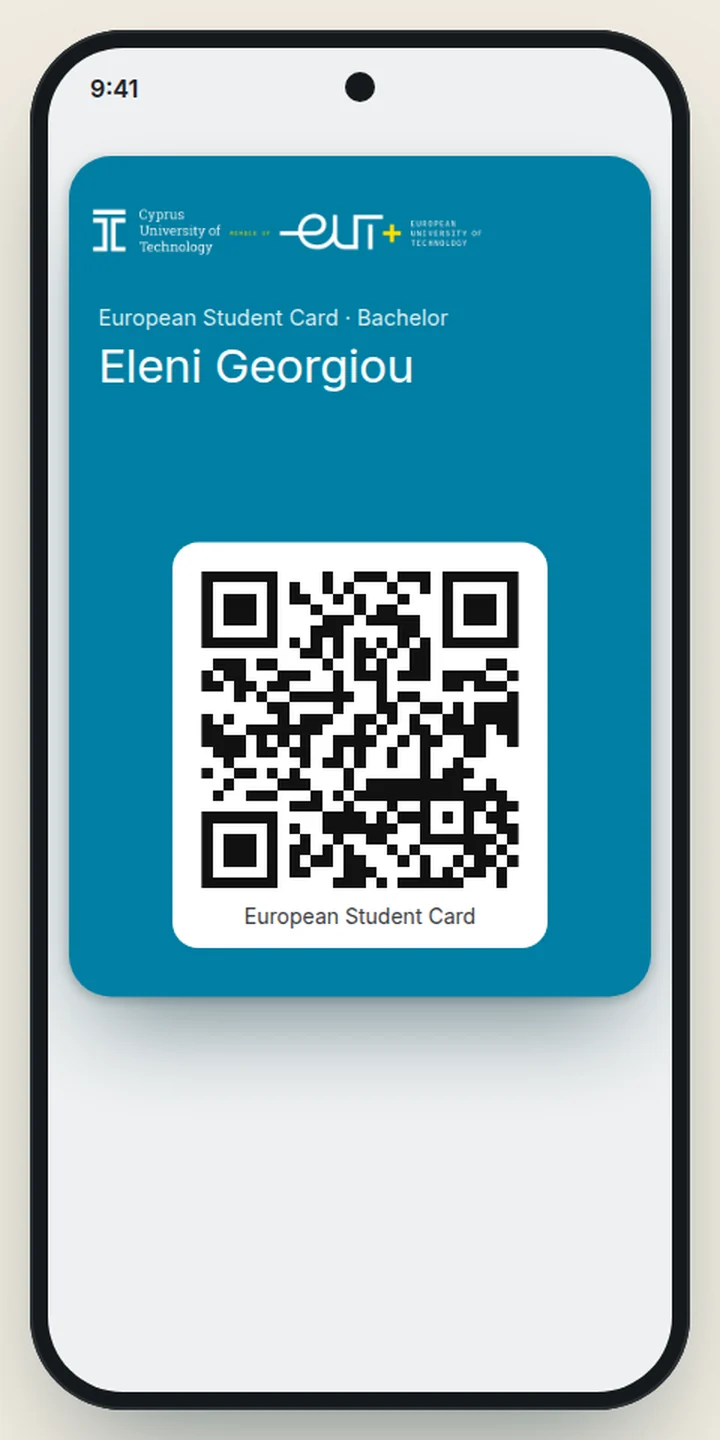
The screenshots use an example student. Your screens show your own name and number, and your card carries its own QR from the European Student Card system.